...
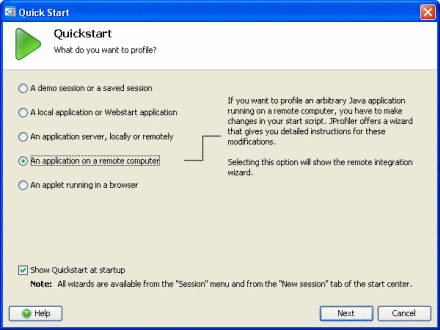
Jprofiler を起動後、JProfiler Quick Start ダイアログが表示されます。
1. “An application on a remote compute” をクリックし、Next をクリックします。
注: この選択をすることで、ブラウザ、Nexaweb Studio またはコマンドラインから全ての種類のアプリケーションタイプを稼働することができます。
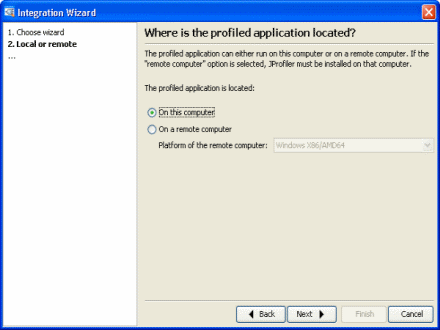
“Where is profiled application located?” ダイアログが表示されます。
2. On this computer をクリックし、Next をクリックします。
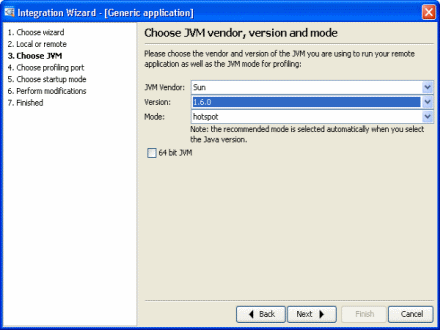
“Choose JVM Version . . . “ ダイアログが表示されます。
3. システムで稼働している JVM バージョンを選択し、Next をクリックします。
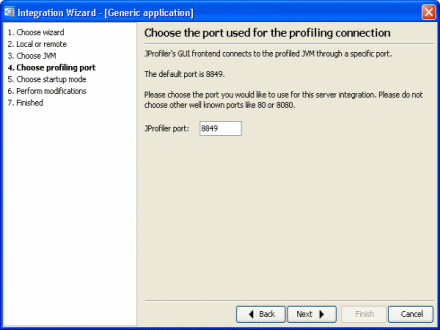
“Choose the port used for profiling connection” ダイアログが表示されます。
4. Next をクリックし、default をアクセプトします。
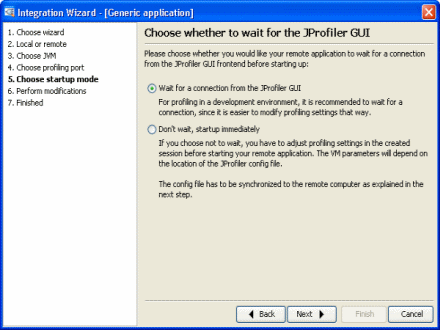
“Choose whether to wait for the JProfiler GUI” ダイアログが表示されます。
5. Next をクリックし、default をアクセプトします。
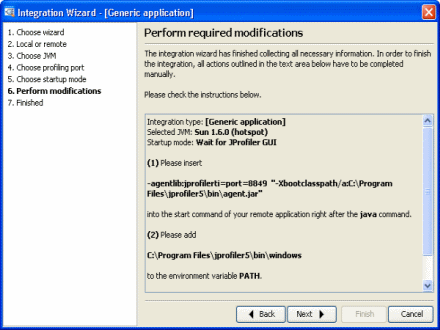
“Perform required modifications” ダイアログが表示されます。
6. Java start command を修正し、Perform required modifications ダイアログで特定される構文を追加します。
...
Next をクリックします。
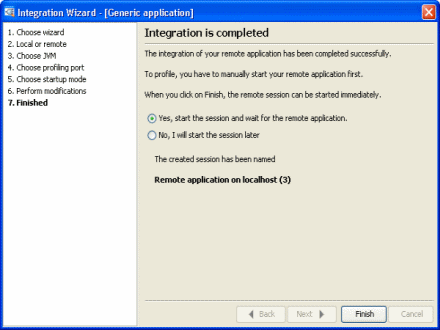
“Finished” ダイアログが表示されます。
7. 今すぐにセッションを開始するかどうかを選び、Finish をクリックします。
...
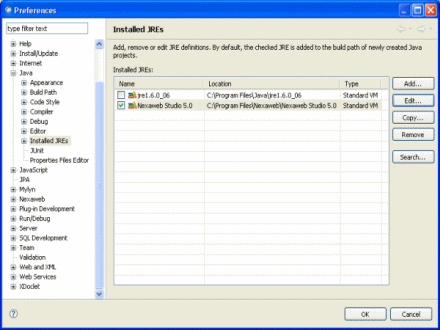
b. + をクリックし Java を展開させ、Installed JRE を選択する
c. Installed JRE リストから Nexaweb Studio を選択しEdit をクリックする
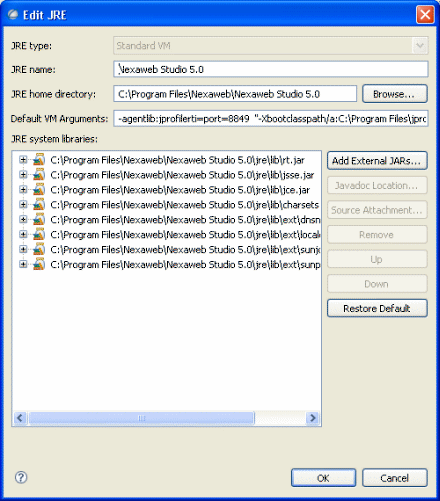
“Edit JRE” ダイアログが表示されます。
d. Default VM Arguments 項目の JProfiler コマンド構文(“Perform required modifications” ダイアログで特定される) を選択する。
...
b. Java をダブルクリックする。
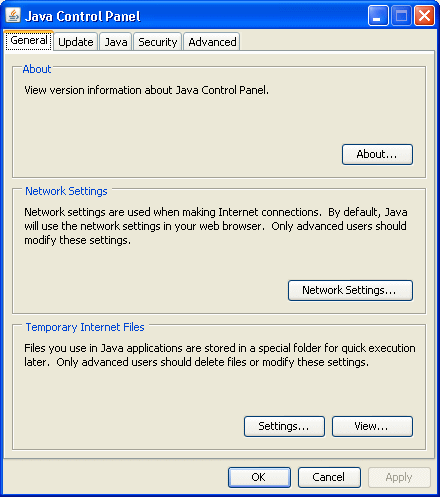
Java Control Panel が開きます。
c. Java Tab をクリックする。
d. Java Applet Runtime Settings の View をクリックする。
システムにインストールした JRE の Java ランタイム設定のリストが表示されます。
e. JRE の側の JavaRuntime Parameters 項目をクリックし、JProfiler Perform required modifications で特定された情報を入力する。
例えば、-agentlib:jprofilerti=port=8849 "-Xbootclasspath/a:C:\Program Files\jprofiler5\bin\agent.jar"を入力します。
...

